How to install MDF wall panels?
Nov 17, 2025
Leave a message
Hey there! As an MDF supplier, I've seen firsthand how MDF wall panels can transform a space. They're versatile, affordable, and easy to work with, making them a popular choice for DIYers and professionals alike. In this blog post, I'll walk you through the process of installing MDF wall panels, from start to finish. So, let's get started!
Step 1: Gather Your Materials and Tools
Before you begin, you'll need to gather all the necessary materials and tools. Here's a list of what you'll need:
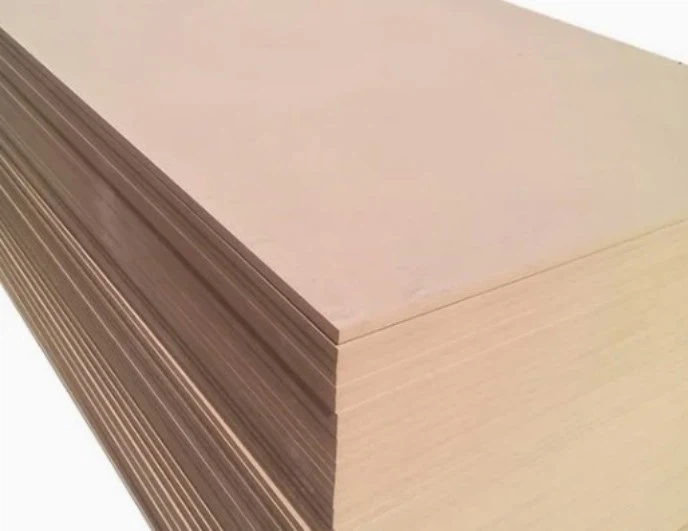
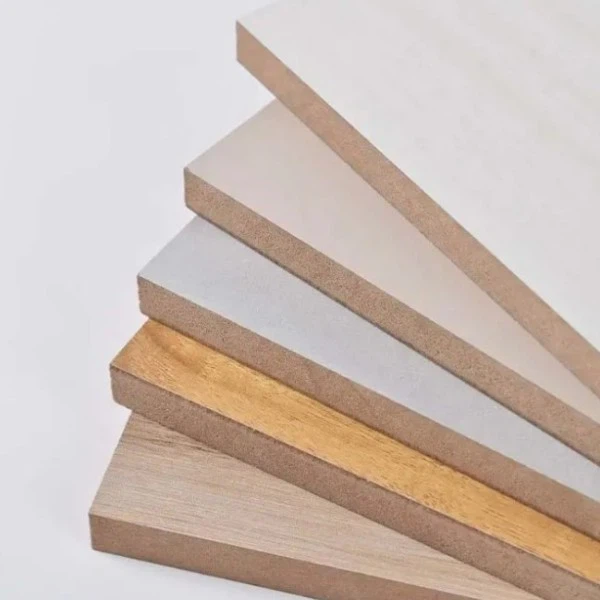
- MDF wall panels: You can choose from a variety of MDF panels, including Smooth Surface MDF Board, Furniture Grade MDF Board, and Thin Core MDF Board. Make sure to measure your wall accurately to determine how many panels you'll need.
- Measuring tape: You'll need a measuring tape to measure the length and height of your wall, as well as the panels.
- Utility knife: A utility knife is useful for cutting the panels to size.
- Saw: You may need a saw to cut the panels, especially if you need to make angled cuts. A circular saw or a jigsaw works well for this.
- Level: A level is essential for ensuring that your panels are installed straight.
- Stud finder: A stud finder will help you locate the wall studs, which you'll need to attach the panels to.
- Nail gun or hammer and nails: You'll need a nail gun or a hammer and nails to attach the panels to the wall.
- Adhesive: An adhesive can be used to secure the panels to the wall and prevent them from shifting.
- Caulk gun and caulk: You'll need a caulk gun and caulk to fill in any gaps between the panels and the wall.
- Sandpaper: Sandpaper is useful for smoothing the edges of the panels and preparing them for painting or finishing.
Step 2: Prepare the Wall
Before you install the MDF wall panels, you'll need to prepare the wall. Here's what you need to do:
- Clean the wall: Use a damp cloth to clean the wall and remove any dirt, dust, or debris. Make sure the wall is completely dry before you proceed.
- Locate the wall studs: Use a stud finder to locate the wall studs. Mark the location of the studs on the wall with a pencil.
- Repair any damage: If there are any holes or cracks in the wall, repair them before you install the panels. You can use spackle or joint compound to fill in the holes and cracks, and then sand the area smooth.
Step 3: Measure and Cut the Panels
Once you've prepared the wall, it's time to measure and cut the panels. Here's how:
- Measure the wall: Use a measuring tape to measure the length and height of the wall. Make sure to measure the wall at several points to account for any irregularities.
- Cut the panels to size: Use a utility knife or a saw to cut the panels to the appropriate size. Make sure to measure twice and cut once to ensure accuracy.
- Make any necessary cuts: If you need to make angled cuts or cutouts for outlets or switches, use a saw or a jigsaw to make the cuts.
Step 4: Install the Panels
Now that you've measured and cut the panels, it's time to install them. Here's what you need to do:
- Apply adhesive to the back of the panel: Apply a thin layer of adhesive to the back of the panel using a trowel or a putty knife. Make sure to apply the adhesive evenly.
- Position the panel on the wall: Carefully position the panel on the wall, aligning it with the marked studs. Press the panel firmly against the wall to ensure good adhesion.
- Attach the panel to the wall: Use a nail gun or a hammer and nails to attach the panel to the wall. Make sure to drive the nails or screws into the wall studs to ensure a secure attachment.
- Repeat the process: Repeat the process for each panel, making sure to leave a small gap between each panel to allow for expansion and contraction.
Step 5: Fill in the Gaps
Once you've installed all the panels, it's time to fill in the gaps between the panels and the wall. Here's what you need to do:
- Apply caulk to the gaps: Use a caulk gun to apply caulk to the gaps between the panels and the wall. Make sure to fill in the gaps completely.
- Smooth the caulk: Use a damp finger or a caulk smoothing tool to smooth the caulk and remove any excess.
Step 6: Sand and Finish the Panels
After you've filled in the gaps, it's time to sand and finish the panels. Here's what you need to do:
- Sand the edges of the panels: Use sandpaper to smooth the edges of the panels and remove any rough spots or burrs.
- Prime the panels: Apply a coat of primer to the panels to prepare them for painting or finishing.
- Paint or finish the panels: Once the primer has dried, you can paint or finish the panels to match your decor. You can use a variety of paints and finishes, including latex paint, oil-based paint, or stain.
Step 7: Enjoy Your New Wall Panels!
Congratulations! You've successfully installed MDF wall panels. Now it's time to sit back and enjoy your new look. MDF wall panels are a great way to add style and character to any room, and they're easy to install and maintain.
If you have any questions or need further assistance with installing MDF wall panels, don't hesitate to contact us. We're here to help you every step of the way. And if you're interested in purchasing MDF wall panels, we offer a wide range of high-quality panels at competitive prices. Contact us today to learn more and to start your next project.
References
- DIY Network. (n.d.). How to Install Wall Panels. Retrieved from https://www.diynetwork.com/how-to/rooms-and-spaces/walls/how-to-install-wall-panels
- Home Depot. (n.d.). How to Install Wall Panels. Retrieved from https://www.homedepot.com/c/ah/how-to-install-wall-panels/9ba683603be9fa5395fab9093d16699
- Lowe's. (n.d.). How to Install Wall Panels. Retrieved from https://www.lowes.com/n/how-to/install-wall-panels